The Tool (ザ・道具)
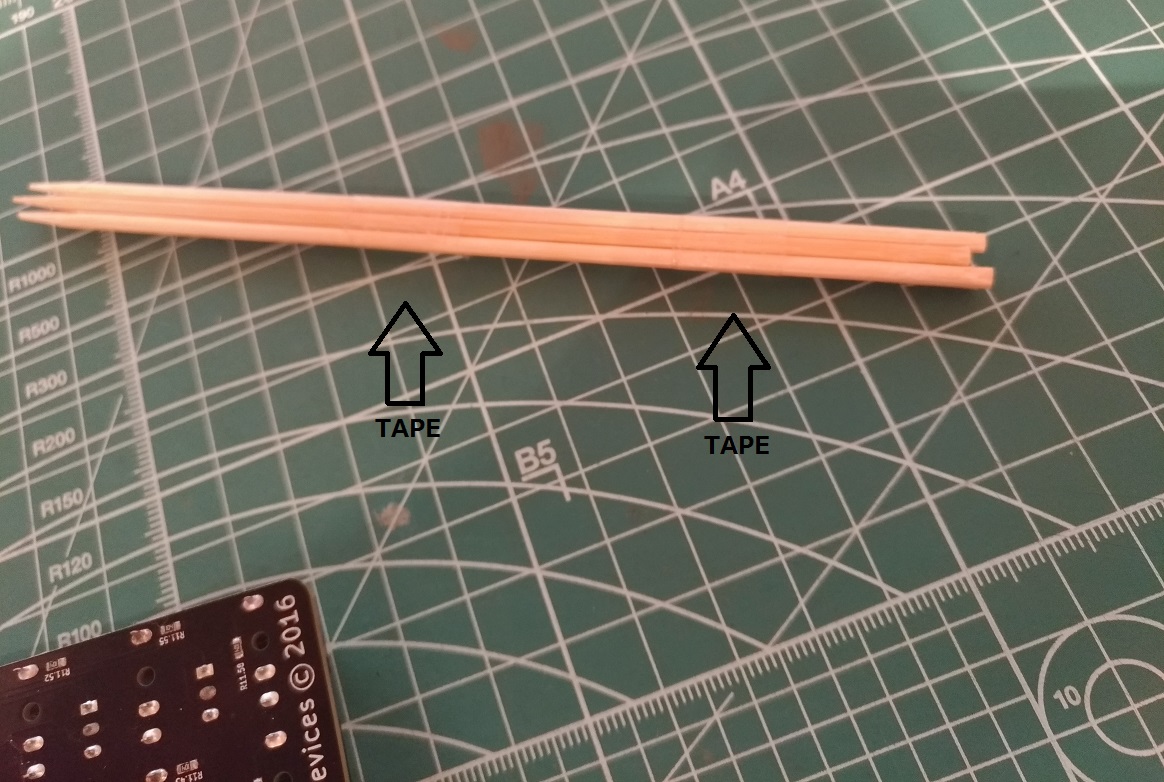
You will need something to insert between the CPU board and the main board that will not scratch the PCB surface. My favorite is to wrap 5 wooden or bamboo skewers (the kind used for yakitori) with tape. You can also use a popsicle stick or a plastic tire lever. Do not use a screwdriver!
まず、竹串(長さ=15cm)の5本をセロテープで巻いて道具を作ります。
Step 1
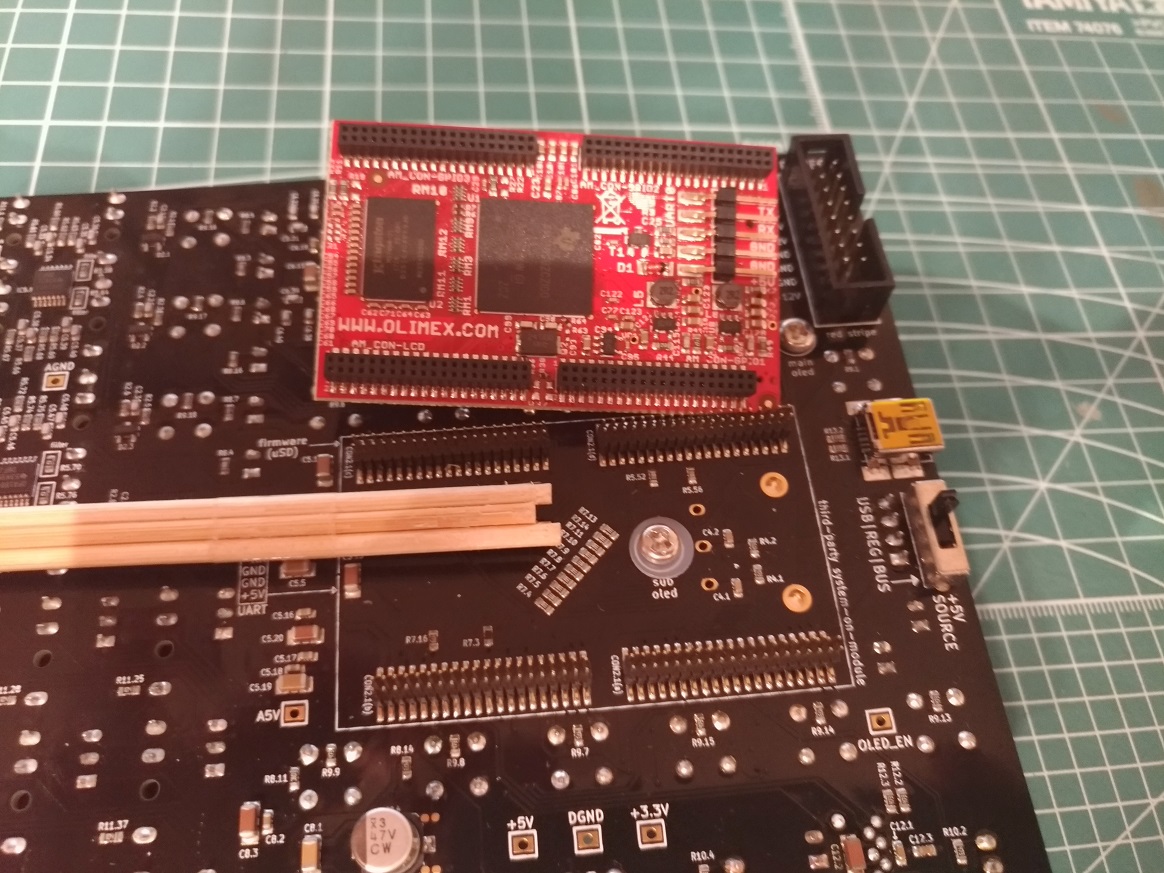
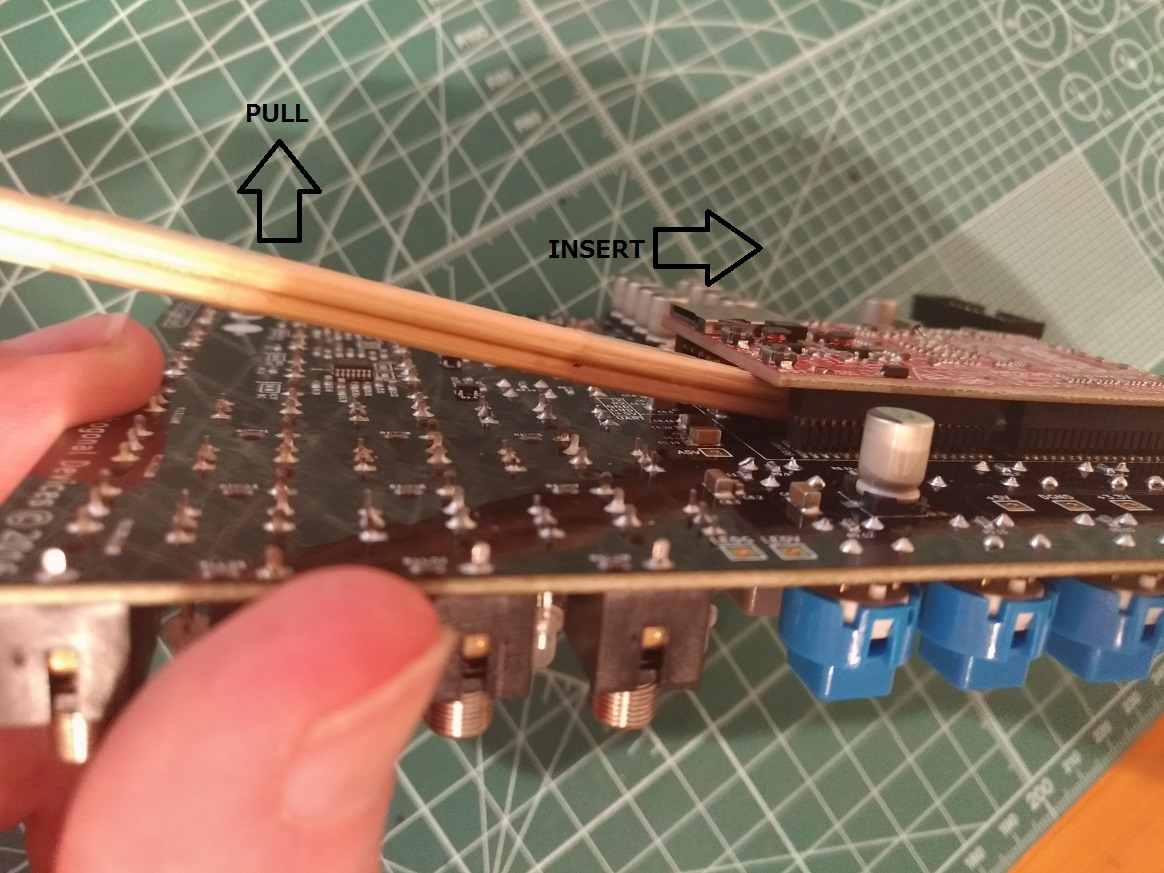
Remove the rear SD card so that it does not get in the way and insert your lever in the gap between the CPU board and main board about 1-2cm. Slowly and gently pull up on the lever until you see a 1-2mm gap open in the connector.
そして、左辺(入れやすいほう)から道具をCPUボードと主ボードの間に1-2cmまで入れて、上に優しくゆっくり引きます。コネクターに1-2mmの隙間が開けてきたら、右辺に進んでください。
Step 2
Now do the same thing from the opposite side, opening the connector on this side just 1-2mm.
右辺から道具をCPUボードと主ボードの間に1-2cmまで入れて、上に優しくゆっくり引きます。1-2mmの隙間が開けてきたら、左辺に戻りさらに隙間を道具で空け、交互に徐々に上げていきます。

Repeat 1 & 2
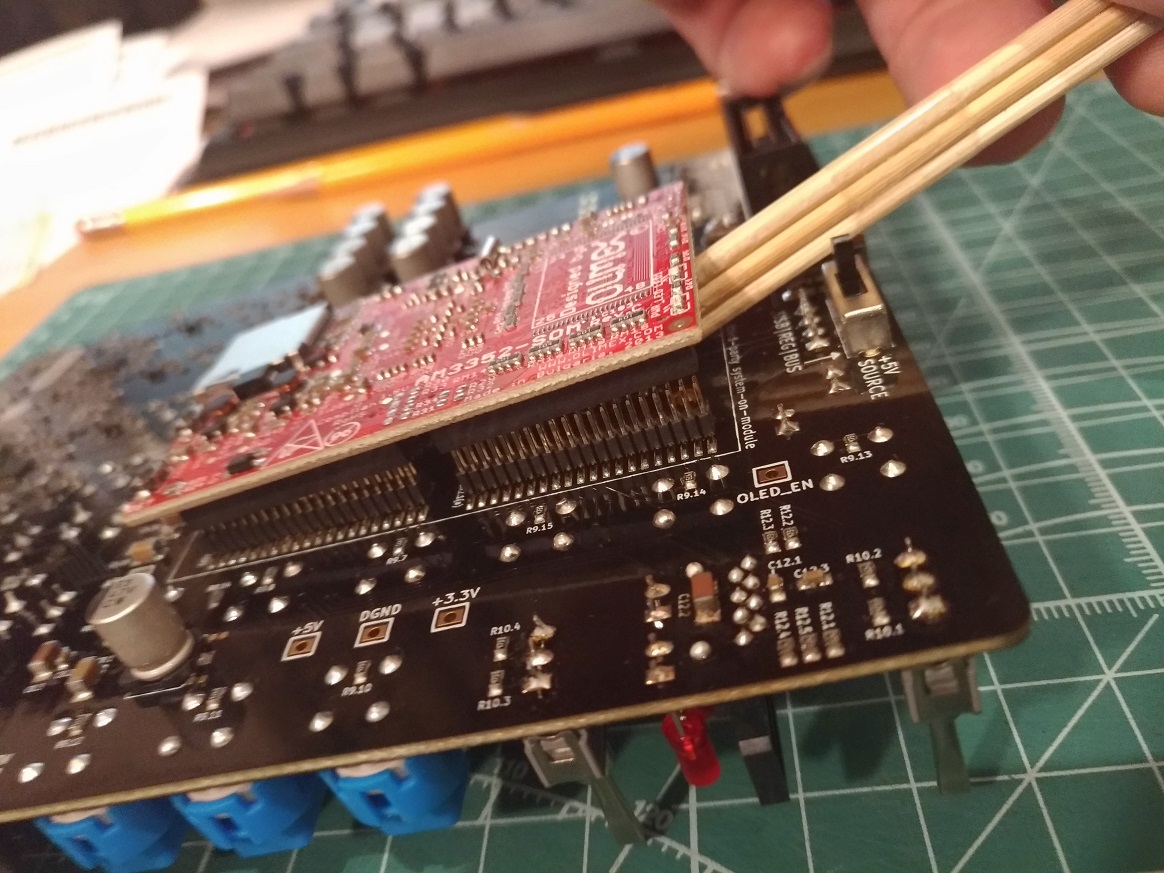
Go back to the first side, and open the gap a little bit wider. Repeat these steps, switching back and forth, widening the gap a few millimeters at a time. Be patient.
注意しながら、丁寧に作業することで、隙間はどんどん開けていきます。
Done
At some point, the connectors will completely and safely disengage. Resist the temptation to pull on the CPU board with your hands!
手で引っ張らないでください。完全に外すまで、道具を使ってください。